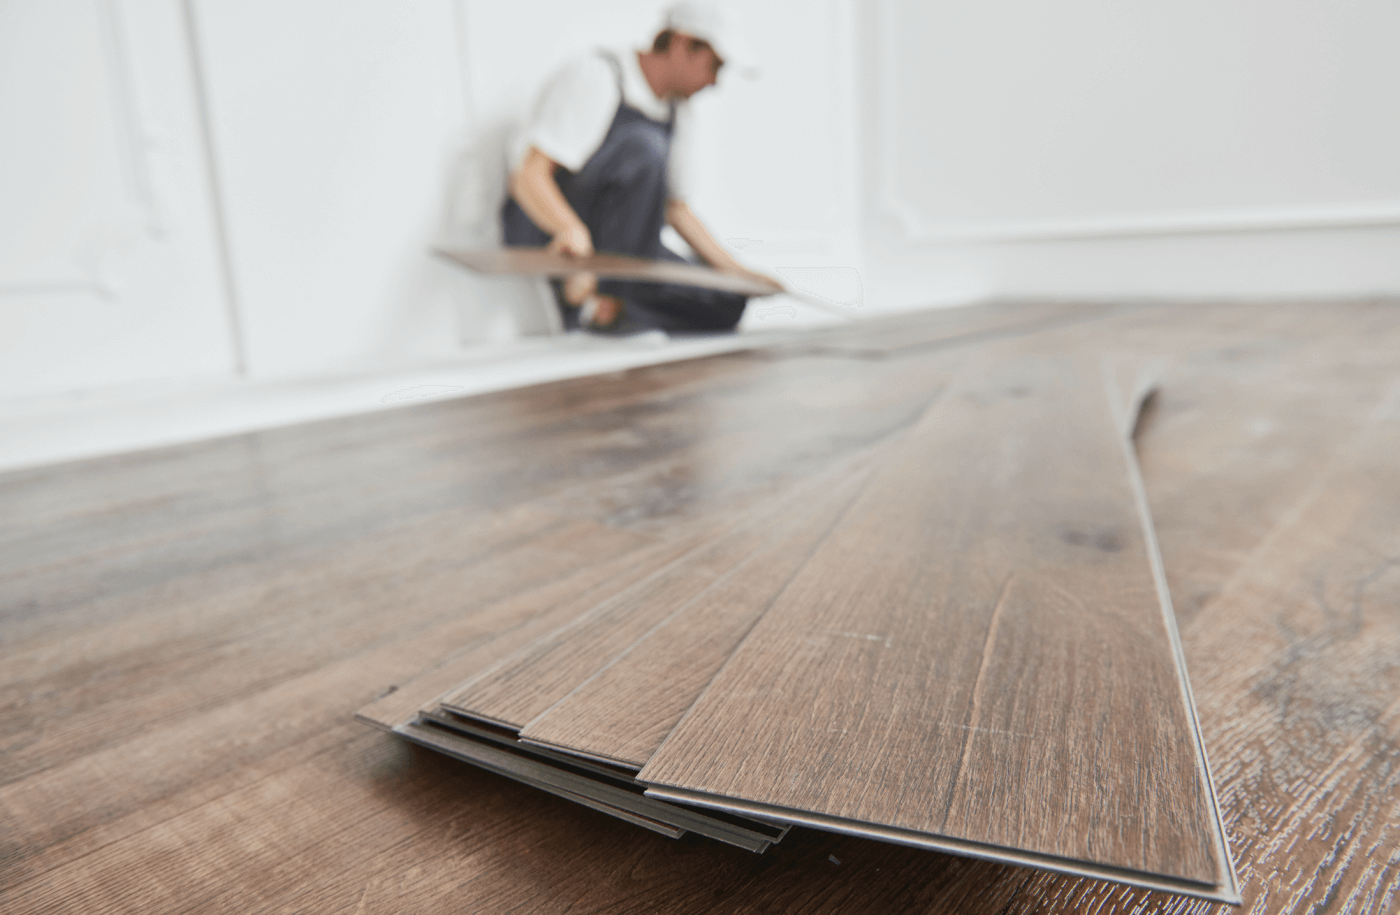
Vinyl plank is one of the best selling flooring options on the market for good reason. It’s amazing at mimicking the look of wood while being a lot cheaper and easier to maintain than its hardwood counterpart.
You can find a great selection of vinyl plank flooring options here.
Let’s get right into the best tips and tricks to clean vinyl plank flooring effectively!
Avoid these….
Before we start talking about what you should do, let’s mention the don’ts first.
You should avoid steam mops and steam cleaning machines at all costs. The high heat and moisture produced by steam can warp and damage the vinyl when it makes its way into seams and under the planks.
This will soften the adhesive beneath the planks, potentially leading to shifting or peeling of the planks, which will make a mess of your flooring over time. It may also violate your warranty in some cases.
This next one might be obvious, but we’ll mention it just in case. Steer clear of steel wool or other abrasive scrubbers.
Scrubbing with steel wool will completely ruin the look of your floor and make small gaps in the surface layer where dirt can accumulate, making it even harder to clean in the future.
Another big no-no are ammonia-based cleaners! Seriously, ammonia is very bad for several reasons.
For starters, it’s highly alkaline, meaning it will strip away the protective coating (also known as the wear layer) of your vinyl flooring. Once the wear layer is damaged, the vinyl becomes more susceptible to scratches and stains.
Using ammonia can also result in a dull finish on your vinyl floors. It will leave the surface looking cloudy or hazy, and nobody wants that, right?!
Finally, don’t use rubbing alcohol. Repeated use will lead to vinyl becoming brittle and dry, which will make it crack faster over time. It can also damage the wear layer in a similar way to ammonia.
The Cleaning Process
Now that we’ve gone over the no-no’s, let’s get into the nitty-gritty of how to actually clean your vinyl flooring.
The first thing you should do is thoroughly vacuum the surface. Using a vacuum with a soft brush attachment is ideal because it gently lifts dirt without scratching the vinyl.
Make sure to pay extra attention to corners and edges where dust tends to accumulate the most. You can also use a dry mop for this step of the cleaning process.
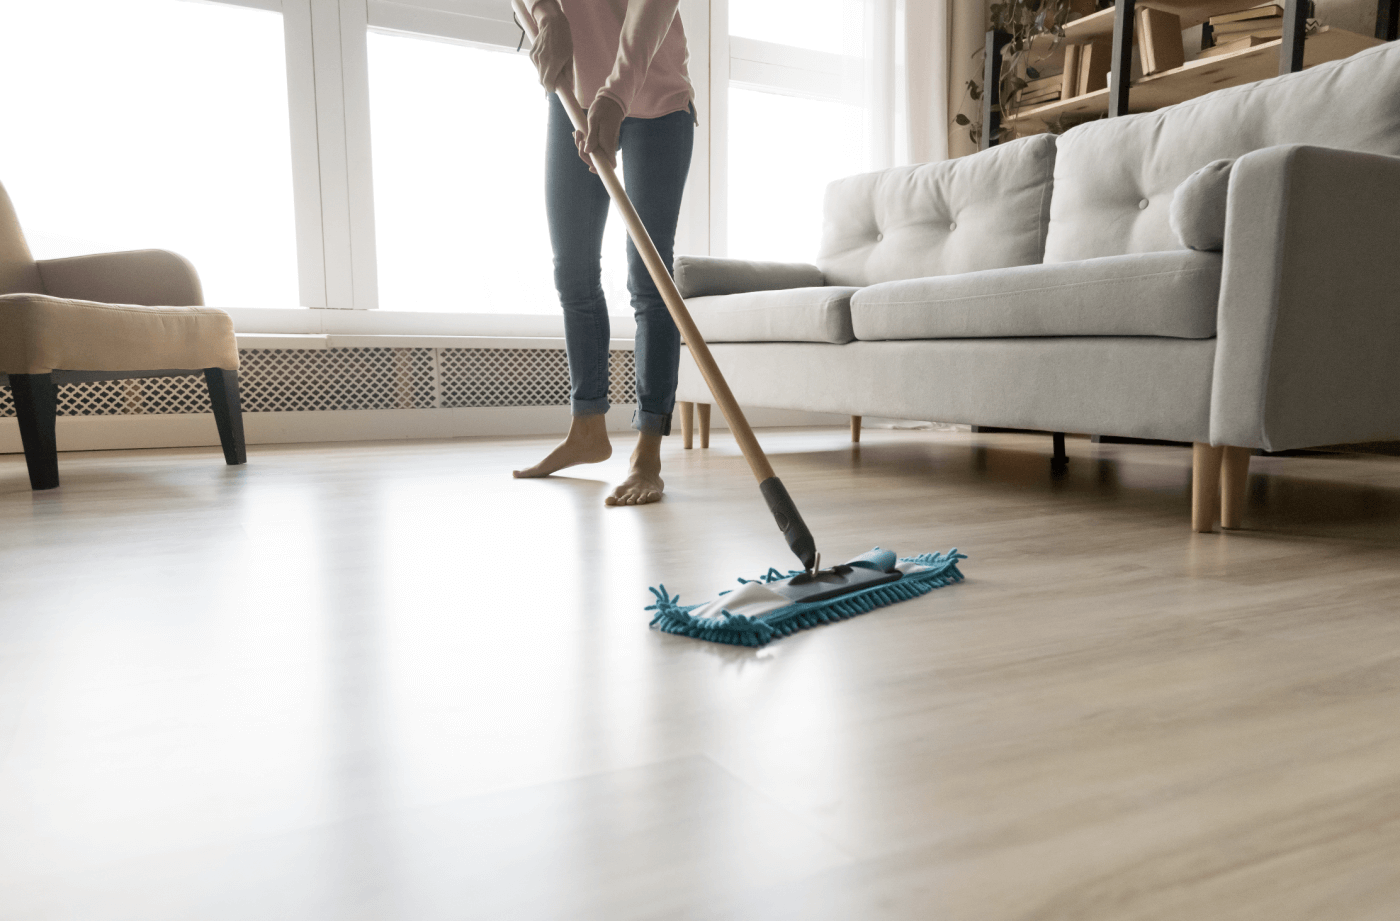
After vacuuming (or dry mopping) the surface, you’re ready for the next step: Using a wet mop and a cleaning solution.
You can find a plethora of good cleaning solutions online, but we’d recommend “Basic Coatings Squeaky Cleaner 32” and “Bona Pro Stone, Tile & Laminate Cleaner Spray” as they’ve provided excellent results for us.
DIY Cleaning Solution
You can also go with a DIY approach if you don’t feel like spending money on a cleaning solution.
A lot of companies recommend cleaning your floors with vinegar, here's how:
- mix 1 gallon of water with 1 cup of white or apple cider vinegar (you can also add a few drops of dishwashing liquid)
- soak your mop in the mixture
- squeeze out the excess water
- start mopping.
Keep in mind that you should always mop WITH the grain for optimal results. Once you’re done, you can mop your floors a second time to make sure they are squeaky clean.
For tougher stains or spills, a paste made from baking soda and water will do the job. Apply it directly to the stain, let it sit for a few minutes, then wipe it up with a soft cloth.


